Wednesday 17 June 2009

shaking the booty

THIS IS MY NEW TUT I HOPE SOMEONE LIKES IT
Shaking the booty
http://Photobucket

THE TUT IS INTENDED FOR THOSE THAT HAVE A WORKING KNOWLEDGE OF PSP

supplies
You will need psp and animation shop
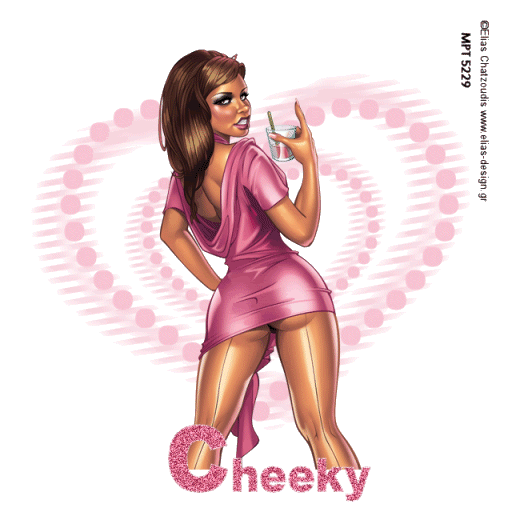
Elias Chatzoudis you can purchase is tubes herehttp://www.mypsptubes.com/
And any mask will do I used wsl 173 mask I don’t have the link sorry
Font is arial which u should have


In psp open new image 600x600 add a new raster layer flood fill white
Add a new raster layer and pick a colour from your tube

Duplicate your mask layer and resize 60% all layers unchecked
Add your tube as a new layer place in centre of your mask layers
Name this tube 1 duplicate it and name tube 2
Grab your warp brush set it with these settings
Warp mode size 115 hardness set at nil strength at 100
On your top layer postion your warp tool on her left cheek( bottom) push her hip up a bit to the left then push her hip
left and down a bit to left click the tick on the warp settings so it will work duplicate the warped layer and name it warp 2nd repeat the above warped settings again moving it a bit further you should have 3 layers tube 1 and tube 2 and warped layer duplicate your first warped layer and place under tube 2
Add all copyrite,s and url,s
Put name to your tag
Hide warped 2 and tube tube and copy of tube 2 layers copy merged and take to animation shop
Paste as new animation back in psp x out tube 1 and un x copy of tube 2 copy merged and in animation paste after current layer
Back in psp repeat the above till all layers ave been took in animation shop
Edit select all animation frames to 50
Save as

Monday 15 June 2009

RAC,S TOO RISKY


SUPPLIES NEEDED
TUBE OF CHOICE
SCRAP KIT FTU CALLED ALWAYS EQUAL FROM HERE


OPEN NEW IMAGE 600X600 FLOOD FILL WHITE
COPY AND PASTE BRACLET 1 AS NEW LAYER AND SHARPEN
GRAB YOUR MAGIC WAND AND CLICK INSIDE FRAME
GO TO SELETIONS AND MODIFY BY 7
COPY AND PASTE PAPER OF CHOICE IMAGE RESIZE 50% SELECTIONS INVERT ON PAPER LAYER
HIT DELETE SELECT NONE
CLOSE OFF YOUR BACKGROUND LAYER
AND MERGE LAYERS VISABLE
DUPLICATE TWIZE AND POSTION LIKE MINE
COPY AND PASTE DOODLE 1 RESIZE 70%
ADD DROP SHADOW AND PLACE UNDER FRAME LAYER
DUPLICATE DOODLE LAYER AND MIRROR
COPY AND PASTE BOW RESIZE 60%
AND POISTION WERE YOU LIKE DUPLICATE AND MIRROR
COPY AND PASTE BUTTERFLY OF CHOICE AND PLAC WERE YOU LIKE
IMAGE FREE ROTATE 30 TO LEFT DROP SHADOW
CLOSE OFF YOUR BACKGROUND LAYER AGAIN
AND MERGE VISABLE RSIZE 95% ALL LAYERS UNCHECKED
DUPLICATE YOUR LAYER
ON ORGINAL LAYER ADJUST BLUR GAUSSIAN BLUR AT 15
AND EFFECTS TEXTURED EFFECTS WEAVE ON SETTINGS
GAP -1 WIDTH-2 OPACITY - 1 WEAVE COLOUR BLACK GAP COLOUR BLACK FILL GAPS CHECKED
MERGE LAYERS TOGETHER MAKE SRE YOUR WEAVE LAYER IS ON TOP
ADD TUBE OF CHOICE
ADD ALL COPYRITE,S AND URL,S AND NAME
ALL DONE SAVE AS PNG
This Tutorial is written by me and any resemblence to any other is purely coincidental.
TUTORIAL WRITTEN 15TH OF JUNE 2009 BY CHEEKY. DO NOT COPY OR ALTER IN ANY WAY OR CLAIM AS YOUR OWN

Thursday 11 June 2009

UPDATE ON FATHER-IN-LAW

AS MOST OF YOU KNOW MY FATHER_IN_LAW AS BEEN POORLY FOR A LONG TIME
ON THE 30TH OF MAY THIS YEAR HE PASSED AWAY SO WEVE BEEN BUSY GETTING EVERYTHING
SORTED I HOPE TO BE MORE ACTIVE IN HERE AND THE GROUPS I BELONG TO SOMETIME
NEXT WEEK HUGS CHEEKY(VAL) XXXX